
How To Make Your Own Terrariums: Miniature Gardens for Plant-Loving City Dwellers
If you would like to add a welcome spot of green to your workplace or home, here's a step-by-step guide to making your very own terrarium.
If you don’t have backyards or balconies to garden in, fret not. There is a super fun and surprisingly easy way through which you can still get some much-needed green in your life — terrariums!
Basically, a tiny green universe neatly enclosed in glass, terrariums date back to 1827 when Dr. Nathaniel Ward accidentally discovered that plants can thrive in such closed environments. He then went on to build a closely-fitted wooden case, called the Wardian case, that was used to protect tropical plants from exposure to the salty sea air while being transported to Britain via ships.
Since then, terrariums have become a much sought-after hobby for gardening enthusiasts and are quite in vogue today.
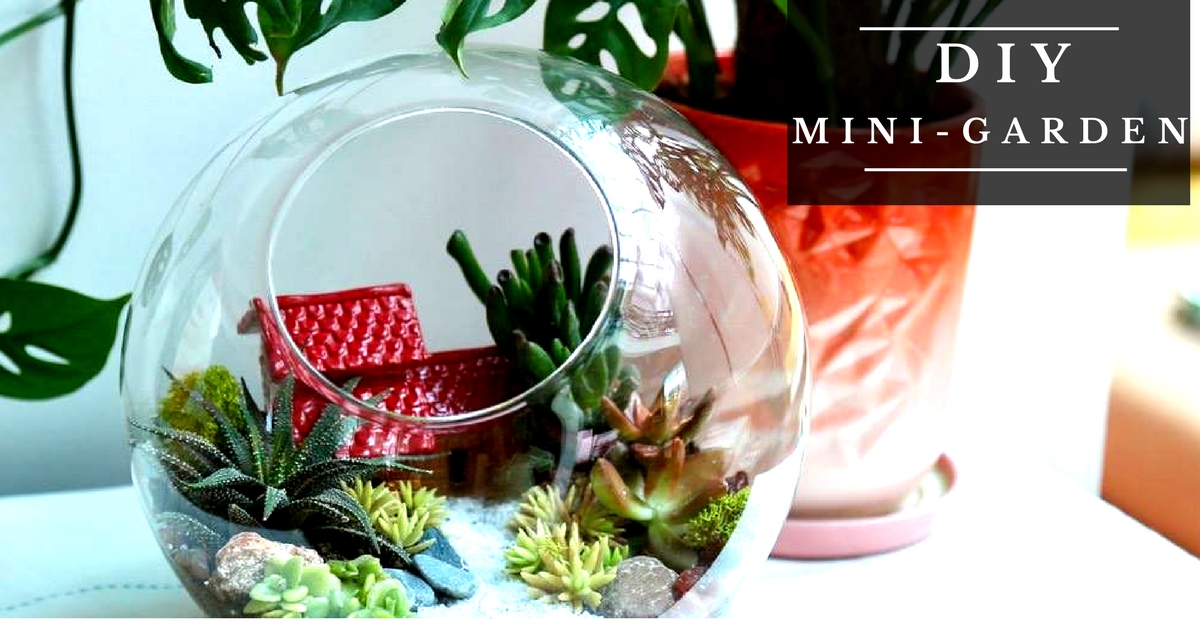
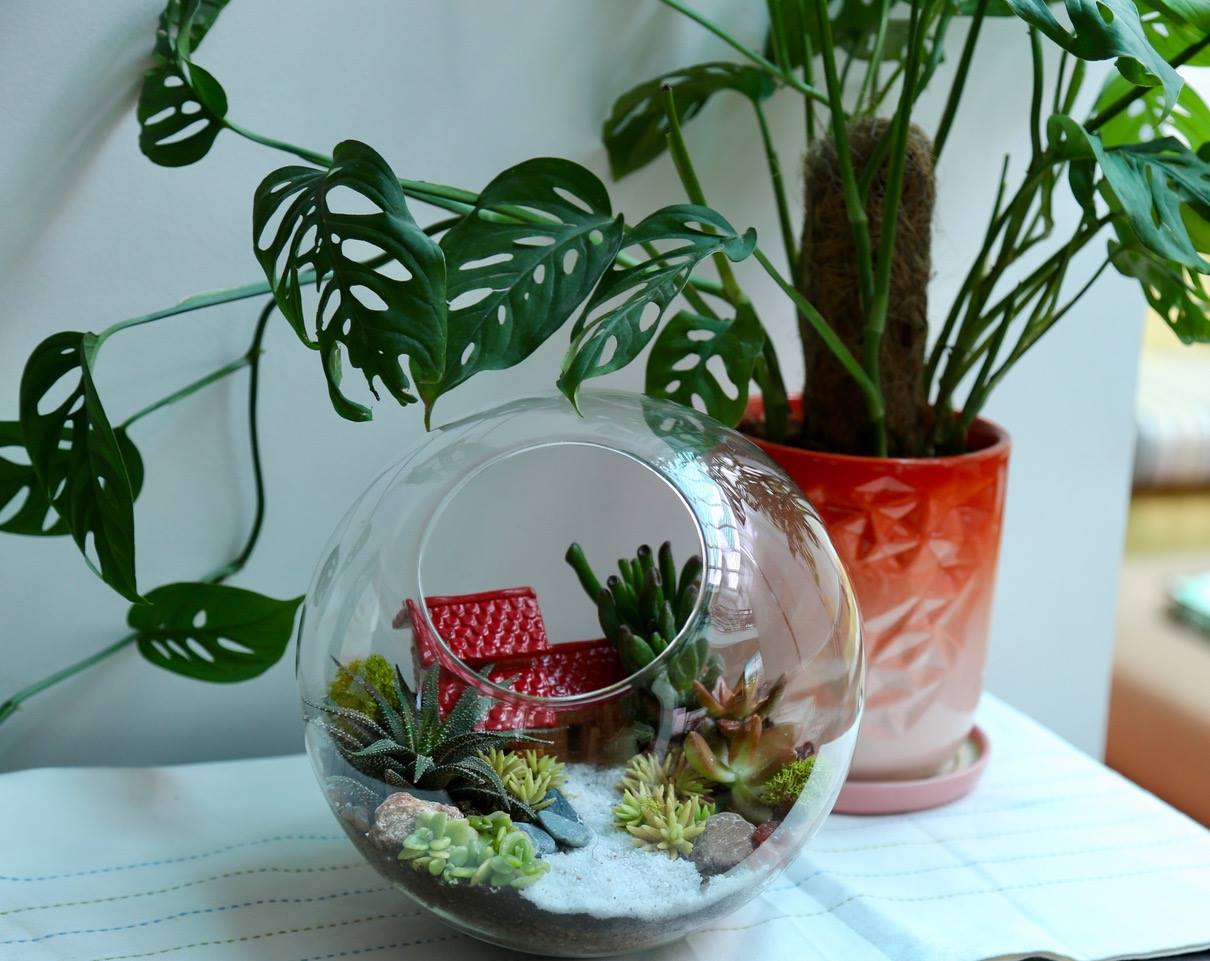
From desert-esque landscapes to a tropical jungle-like atmosphere, these eye-catching miniature gardens invite you in for a closer look and provide a perfect escape from the concrete chaos outside.
Not only this, they are also a great oxygen booster for your home and, if tended to with care, are perhaps as long-lasting as trees. Interestingly, the world’s oldest sealed terrarium is a 53-year-old glass-bottle-garden (belonging to David Latimer from Surrey, England) that was last watered in 1972 and sealed thereafter!
So if you would like to add a welcome spot of green to your workplace or home, here’s a step-by-step guide to making your very own terrarium. Definitely, the perfect (and eco-friendly) DIY project for a chilled-out weekend!
Step 1: Choose a Container
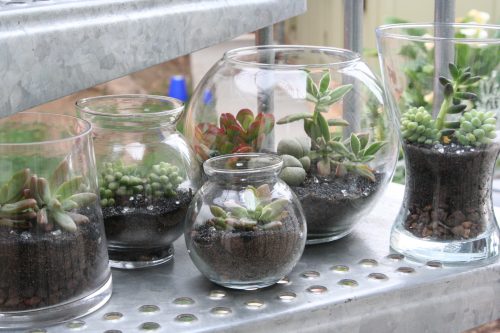
Any and every glass container can work as your terrarium’s vessel. Fish bowls, aquarium tanks, goblets, mason jars, jam jars and even pickle jars can be used. However, remember that closed containers hold more humidity and are ideal for jungle-like fern and moss gardens, while open containers are better for cacti and succulent gardens that require less humidity.
Step 2: Pick Your Plants
When choosing plants, select varieties according to the light received by the place where you are planning to display your terrarium. While south and west-facing windows generally provide strong, bright light, east and north-facing windows (and office lighting) provide low to medium light.
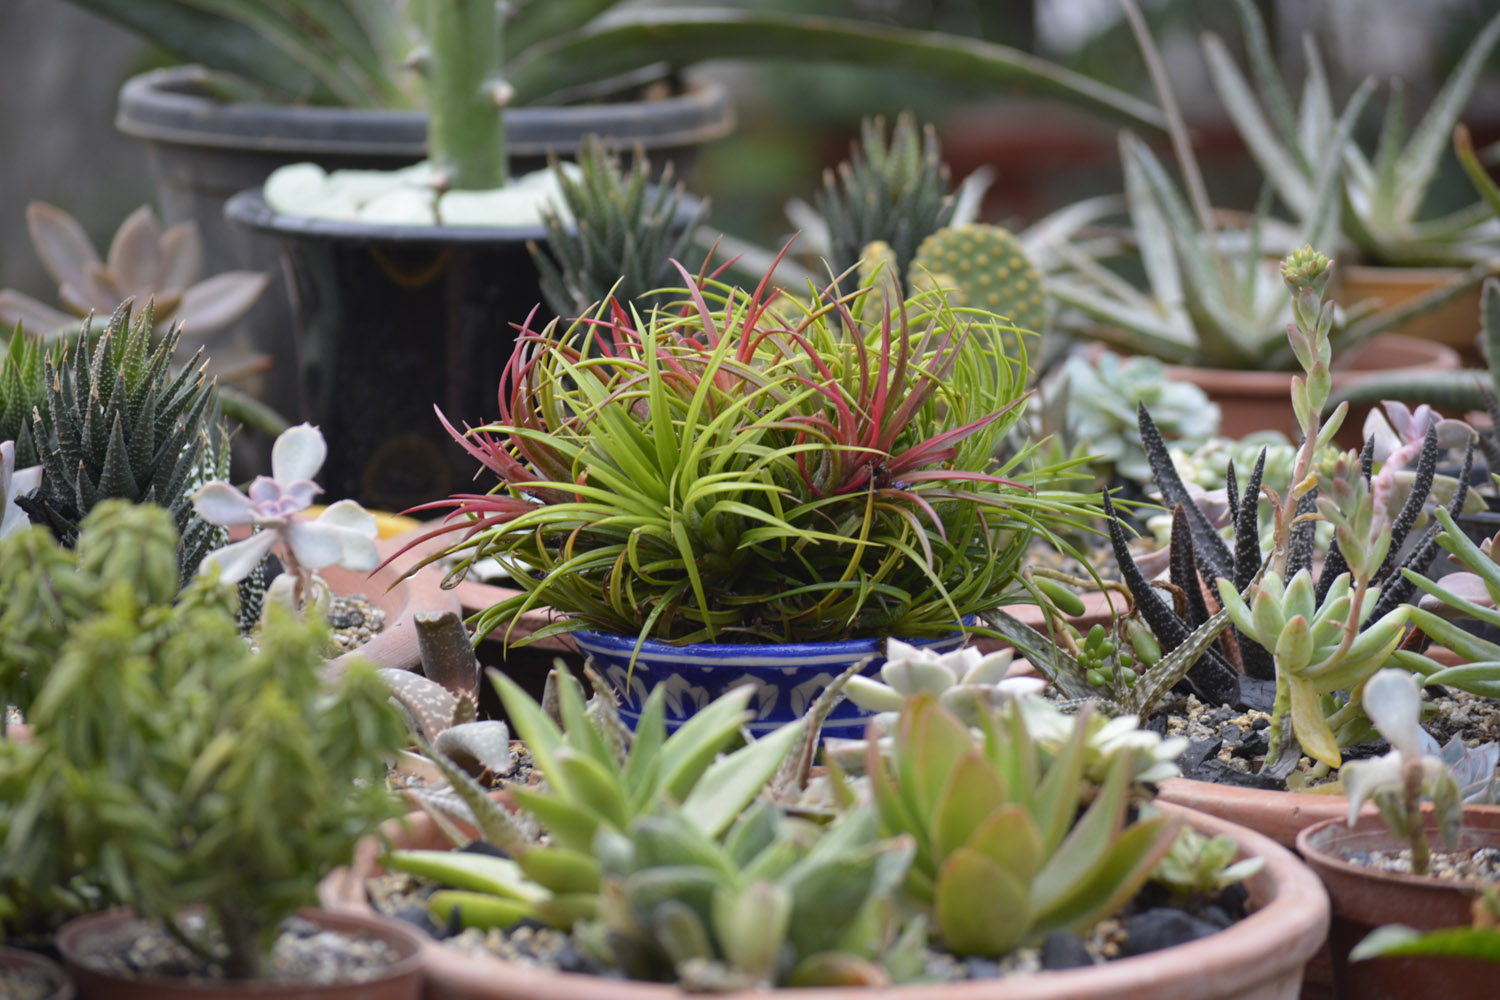
Also, look for a mix of textures, colours and growing habits while choosing plants according to the habitat you’re creating: tropical jungle or desert.
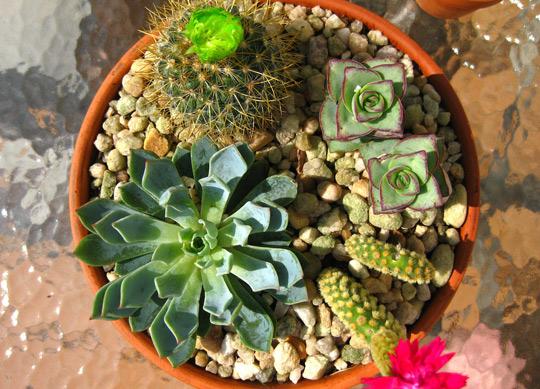
On-trend succulents, arid-loving cacti, aloe vera, agave, sedums, echevareria, and rhipsalis make some great residents for desert terrariums. On the other hand, forest-friendly plants like bella palms, begonias, asparagus ferns, aralia, peperomias, fittonias, dwarf caladiums, maidenhair ferns, and purple passion plants are perfect for your tiny woodland wonderland.
TBI Tip: A forgiving type of plant that virtually anyone can grow, succulents are excellent for beginners. These drought tolerant plants (so you don’t need to worry if you forget to water them) also come in an amazing variety of sizes, shapes, textures, colours and forms.
Step 3: Pick Your Pebbles
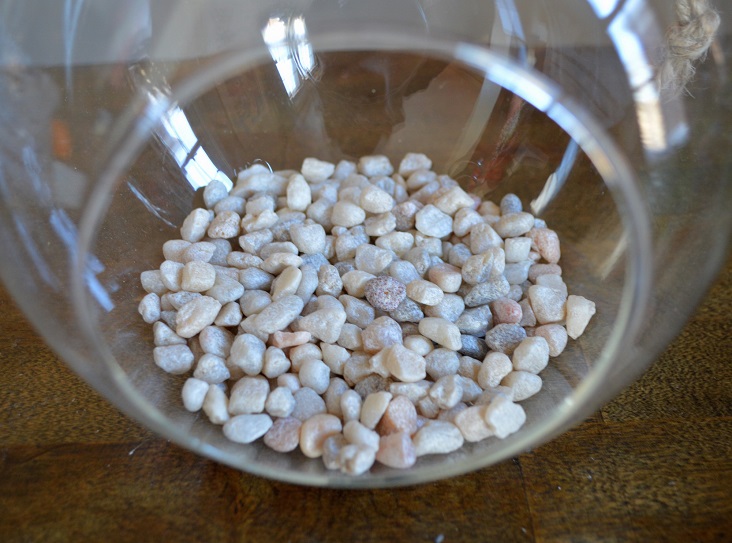
Creating a bottom layer of pebbles/rocks in a terrarium is really important at it helps in draining excess water. They can also be added to the top level for decoration instead of just soil. Most gardening stores offer a wide variety of natural rocks, pebbles and sands, but if you’re looking for a bright splash of colour, consider coloured aquarium gravel!
Step 4: Layer Up
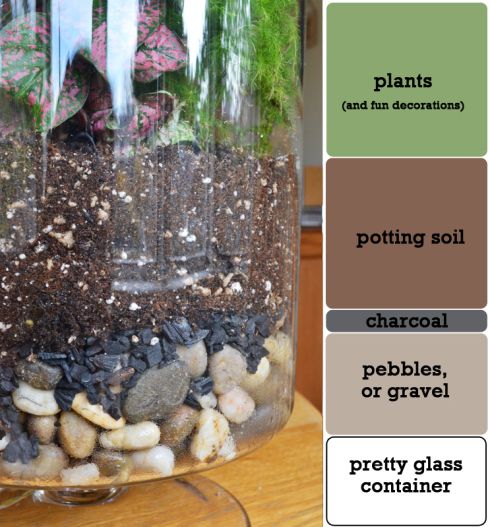
To make your base layer, put 3-4 handfuls of pebbles into the bottom of your jar and give it a gentle shake to even out the layer ( which should be about 2 inches deep). Avoid shells and materials like limestone that might change the pH of the soil.
Your second layer should preferably be a thin layer of activated charcoal that evenly covers the stones. On watering, the charcoal releases carbon into the soil and helps keeps things fresh by absorbing noxious gases that may arise in the vessel.
A third layer (optional) made of sphagnum moss can prevent the soil from slipping down into the lower layers. As an alternative, a wire mesh can also be used to separate the two layers.
The fourth layer should be a thin spread of mulch (dried leaves) that will turn into plant food with time.
The fifth and final layer consists of about 5-6 handfuls of fresh, healthy soil (ideally composed of red soil, perlite and manure) spread evenly to create a coverage 3-4 inches deep. For desert landscapes (i.e cacti and succulents), the final layer is mixed with some coarse sand for aeration.
TBI Tip: You could also mix coconut husk fibre (coir) with the soil. It has an airy texture, a neutral pH, a natural resistance to decay and can retain water without getting soggy, making it ideal for a tropical terrarium environment.
Step 5: Plant Away
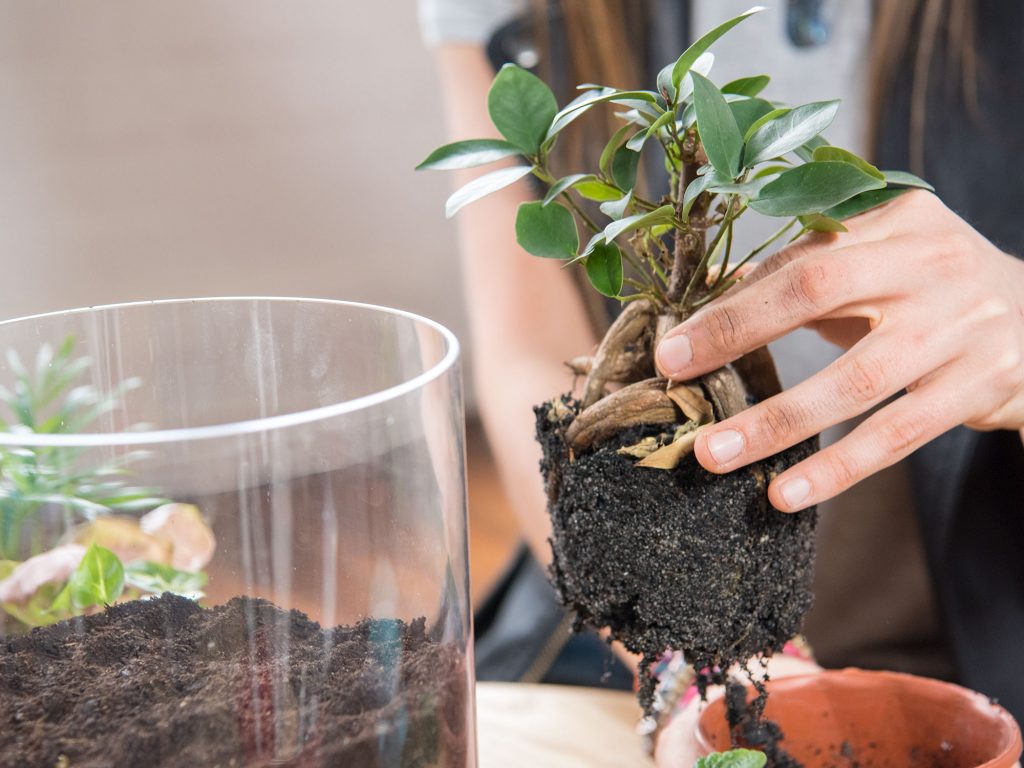
Ensure that the root ball remains as intact as possible while you coax your plant out of its original pot. Then make a little hole in the soil, gently place the plant inside, add some soil to cover the roots and firm up the plant by patting the soil.
Repeat for other plants. If your container is a glass bowl, you could use a spoon to get to the edges. Use tweezers/tongs to position the plants. Also, remember to keep the plant away from the sides of the glass vessels (they’re liable to burn on a hot day).
Unleash your creativity while decorating your landscape — consider using everything from coloured sand, living moss, lava rocks, geodes, crystals, shells, tiny trinkets porcelain figurines, vintage tidbits, plastic cake toppers, and more! Find a sheltered location (well-lit yet away from direct sunlight) inside your home and display your very own custom-made terrarium.
TBI Tip: Sculpt some rolling hills, sweeping plains and cavernous sinkholes for your terrarium using some soil, a few pebbles, and a little imagination! You could also try your hand at making a mini Kokedama Garden, a free-form moss garden popular in Japan.
Step 6: Low-Key Maintenance
The best part about terrariums is that given a healthy dose of indirect light and an occasional sprinkle of water, they will happily thrive in almost every climate. While not much maintenance is needed, here are a few tips that will help keep your little garden happy as a clam.
-
- Rotate your bowl every few weeks to help the plants get even exposure. Early morning and evening sunlight (or diffused artificial light) for at least 10 to 12 hours a day, is healthy for terrarium plants while harsh afternoon light is a big no. If the plants start turning white or yellow — due to too much sun — just move the terrarium out of direct sunlight.
- Watering is the trickiest part of terrarium maintenance. The best way to know if your plants need watering is to touch the soil (which should always be damp, not wet or dry). Spray 2-3 times or pour 3-4 teaspoons of water around each plant. Just don’t over-water!
- Remember that sealed terrariums generally do not require watering as they build in their own little water cycle, but if required, can be opened out and sprayed once in two months.
- Once in a while, clean the terrarium from the outside. If it gets stained from the inside, wipe with a moist tissue paper or simply spray some water on the inside walls to wash off the residual dust.
You May Like: How to Start Your Very Own Herb Garden at Home
Like this story? Or have something to share? Write to us: [email protected], or connect with us on Facebook and Twitter.
NEW: Click here to get positive news on WhatsApp!
If you found our stories insightful, informative, or even just enjoyable, we invite you to consider making a voluntary payment to support the work we do at The Better India. Your contribution helps us continue producing quality content that educates, inspires, and drives positive change.
Choose one of the payment options below for your contribution-
By paying for the stories you value, you directly contribute to sustaining our efforts focused on making a difference in the world. Together, let’s ensure that impactful stories continue to be told and shared, enriching lives and communities alike.
Thank you for your support. Here are some frequently asked questions you might find helpful to know why you are contributing?


This story made me
-
 97
97 -
 121
121 -
 89
89 -
 167
167


