
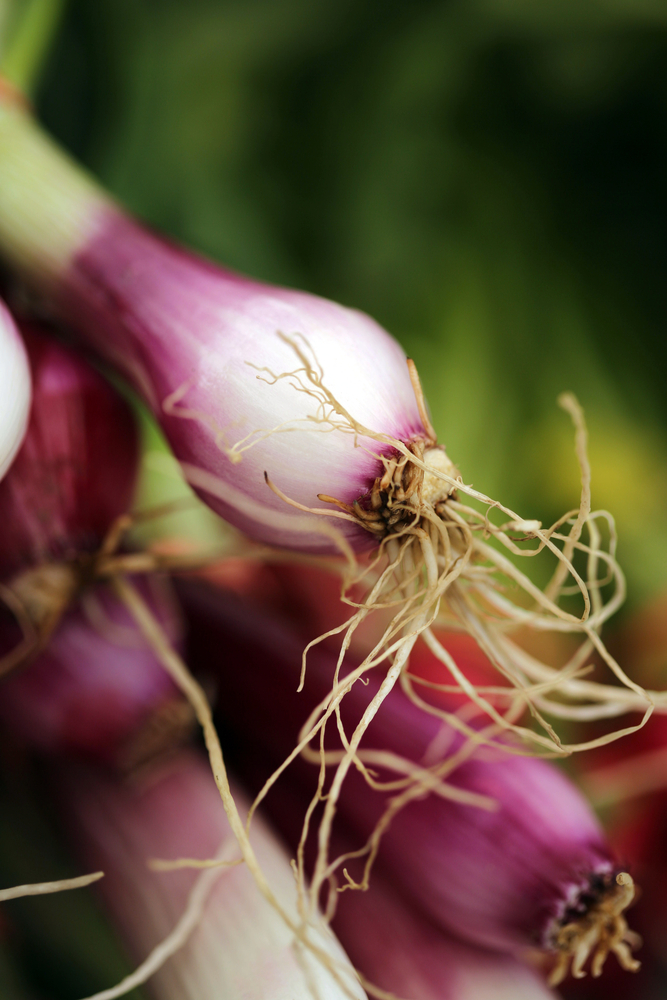
Onions are a much-loved bulb of the Indian subcontinent. Eaten raw, cooked in gravies, stews and soups—it is hard to imagine a dining table spread without this versatile vegetable.
Onions are easy to grow and do not need a lot of space. But before we get into the process, here are some pointers for you to keep in mind:
Onions need cool and pleasant weather without humidity and rain. Thus, the best time to grow onions is between November and February.
Any open space or even a container can be used for growing the bulb. But ensure that the soil is fertile and porous.
Method of cultivation 1 – Growing onions in your backyard
What do you need?
- Onion seeds: source them from a nursery or buy them online.
- Tray
- Grow bags
- Organic fertilisers
- Cow dung
- Water
Step 1: Prepare the Seeds
Soak the onion seeds in water for one day. Drain and keep them in the open for the next 2-3 days. Later, sow the seeds in the soil in a tray.
Step 2: Demarcate Space to Grow the Plant & get the Soil Ready
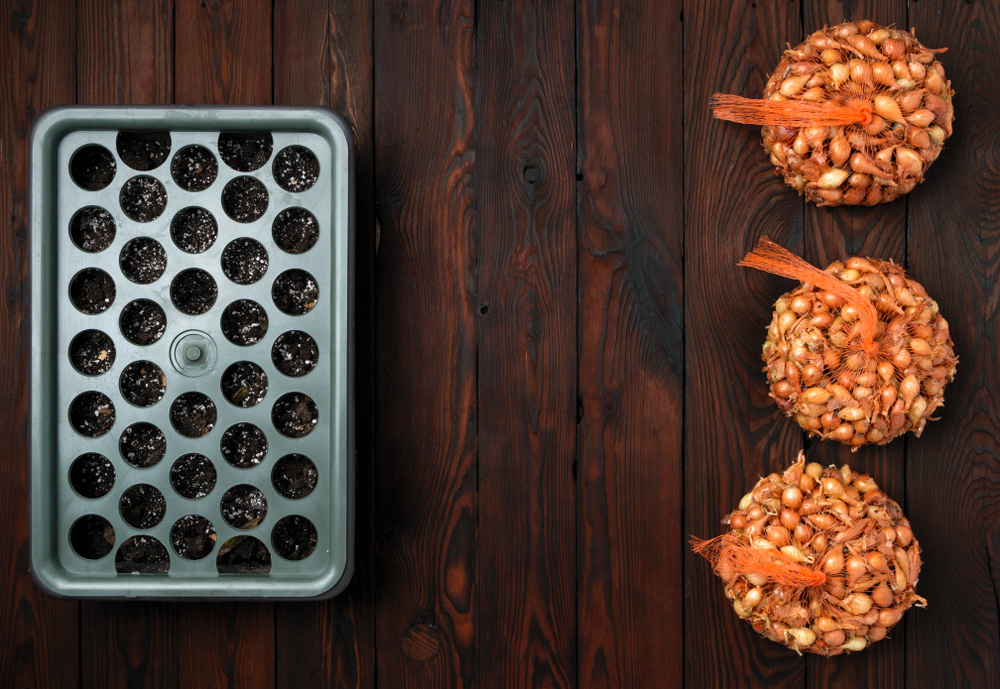

The seeds take about 6-8 weeks to sprout. In the meanwhile, prepare the place where you intend to sow the saplings. It could be your balcony, backyard or a grow bag. You will need fertilisers to nourish the plant. While farmers use cow dung, urea, ‘Rajphos’ and potash, you can avoid going down the chemical route and use organic fertilizer instead. Buy them here.
Step 3: Keep an Eye on the Tray
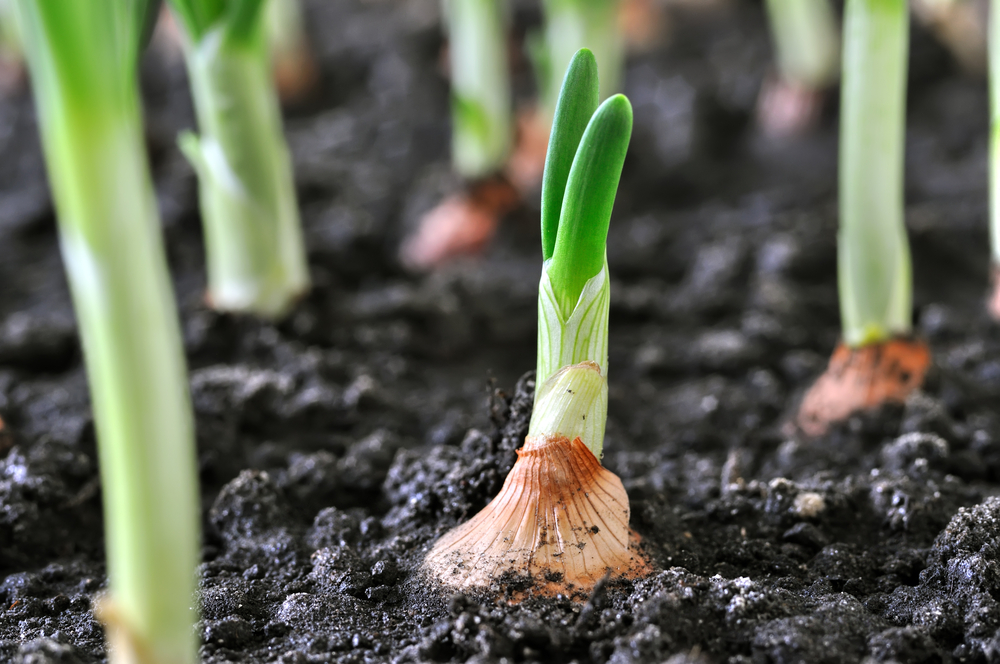

Monitor the saplings on the tray. Water regularly to ensure the soil is moist to facilitate growth. Once the saplings in your tray sprout, plant them in the demarcated space.
Step 4: Ensure the Saplings Are Sown in Rows
These have to be 15 cm apart. So the bulbs have enough space to grow and not hinder each other’s growth.
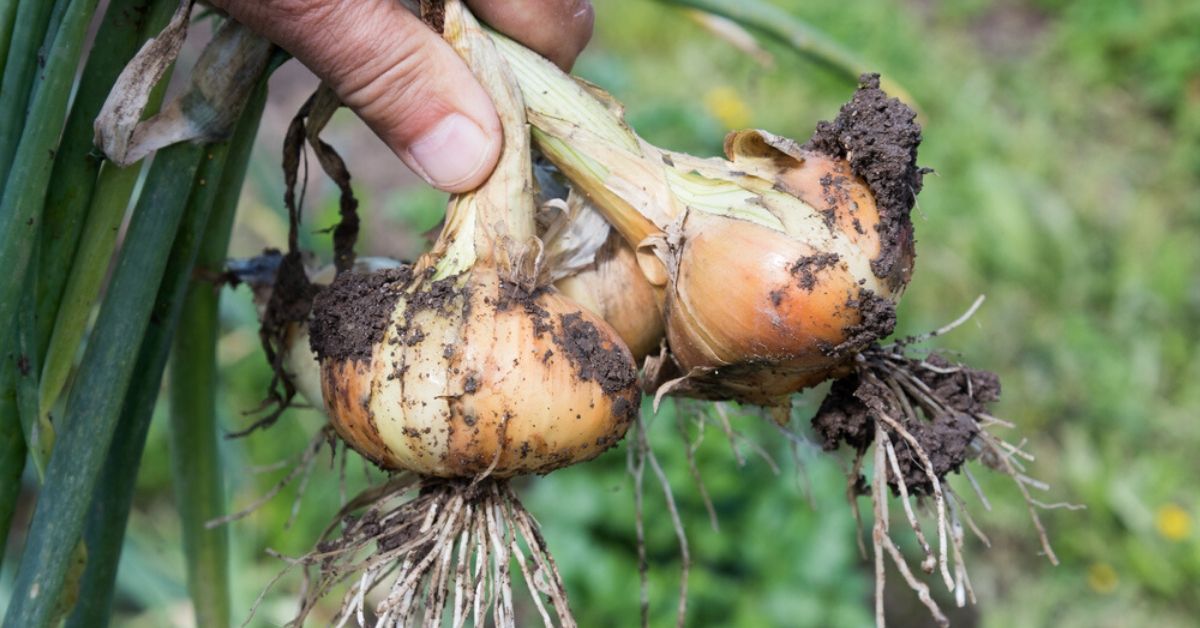
Step 5: The Crop Will Be Ready for Harvest in Four to Five Months


You will know that the plant is ready when the tops of onions are visible above the soil. Once the leaves begin to shrivel, you can pull out the bulbs from the soil.
Step 6: Once Harvested, Pile the Harvested Onions With the Leaves
Leave them for three days. Then, cut off the leaves one centimetre from the bulbs. The leaves too can be cooked, once they are left under mild sunlight to dry.
Method 2: Sprout Brand New Onions From Old Bulbs
Step 1: Select a Container

Ensure it is six inches deep. The width can be decided based on how many onions you want to grow. Use a tub as a container if required.
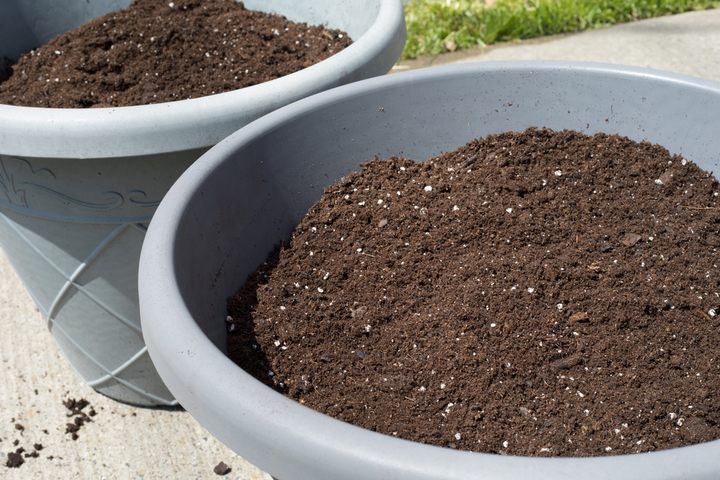
Step 2: Add Soil
Fill the container with soil enriched with manure and compost. Leave about 1-inch space at the top.
Step 3: Use the Starter Onion Bulb From Leftover Cooking Scraps
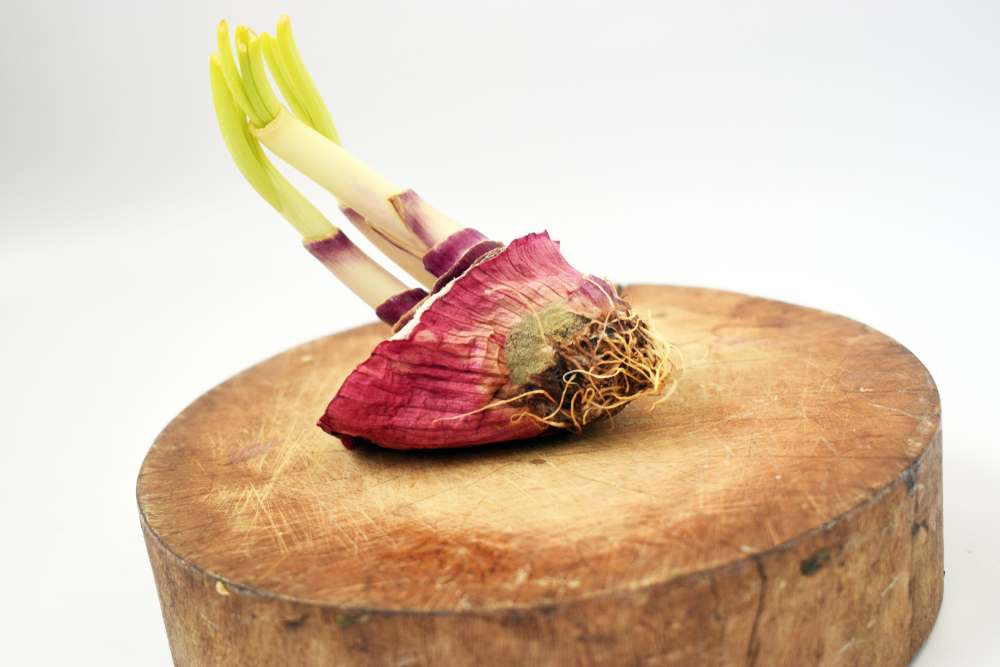
This refers to the root part of the onion. Though discarded when cooking, save this part and and use it to grow onions.
Step 4: Plant the Onion Bulb About 2 Inches Deep Into the Soil
Dig a 2-inch deep pit. Place the bulb inside. Then, cover the bulb with soil and add water till the soil is moist.
Step 5: Place the Container Where It Can Get 6-7 Hours of daily Sunlight
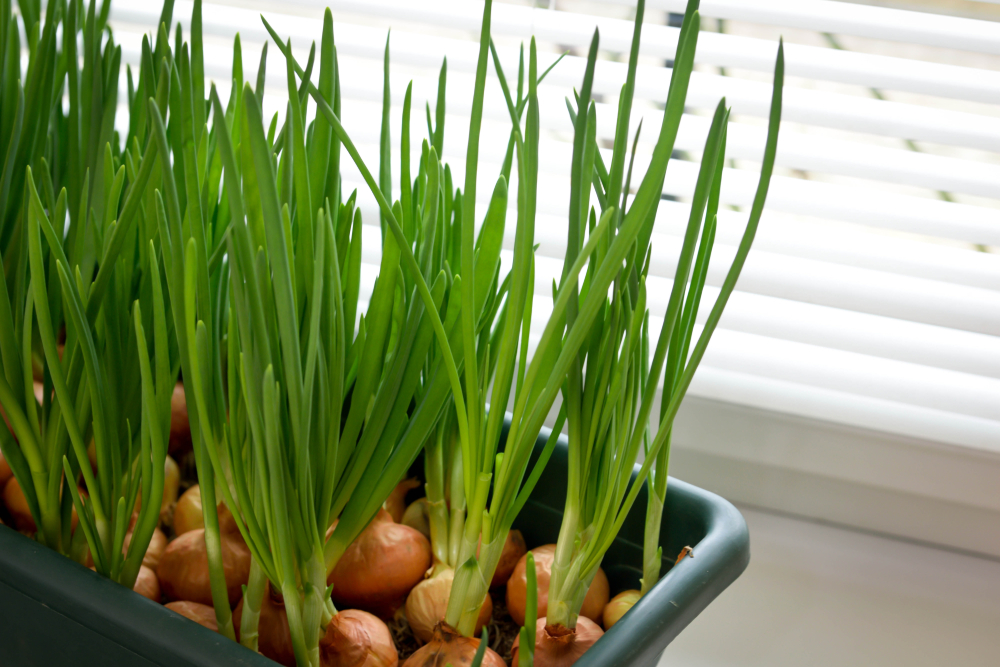
Ensure to keep the soil moist at all times. To test it, touch the soil with a dry finger. If the top of soil feels dry and brittle, then you need to add a little water
Step 6: Harvest Time
Harvest your onions when the sprouts are 3 inches (7.6 cm) high. You can wait longer to allow the bulb to grow bigger, but once it reaches 3 inches, you can dig out the onion, clean it, and use it.
Method 3: Grow Spring Onions at Home in a Plastic Bottle
Don’t have enough space for growing onions due to the small size of your garden? Grow them in plastic bottles/containers inside your home, inside the kitchen, balcony or terrace.
What do you need?
- A 5 L plastic bottle
- Scissors
- Spring onion bulbs
- Soil
Step 1: Prep the Bottle
Cut the Neck of the Bottle
With the help of scissors, cut holes on the body of the plastic bottle. Make sure that the holes are big enough for onions and are 3 inches apart because one onion bulb needs a space of about 3 inches for proper growth.
Step 2: Prep the Soil & Add It to the Bottle
Add soil or growth mix into the bottle until it reaches the first layer of the punched holes.
Ensure the soil you are adding is enriched with a lot of manure or compost. Add any additional organic fertilisers if required.
Step 3: Add the Spring Onion Bulbs
Position the spring onion bulbs at the mouth of the holes. Ensure the tip from where the leaves grow is facing outward. This will help the greens sprout through the opening at a later stage.

Once done with the first layer, add more soil, until you reach the next and keep adding bulbs at different levels. Repeat the pattern till the soil reaches the top and the bottle is full.
Step 4: Tape Back the Neck of the Bottle
Cover the bottle by taping the neck back onto the surface.
Step 5: Place it in the Sun
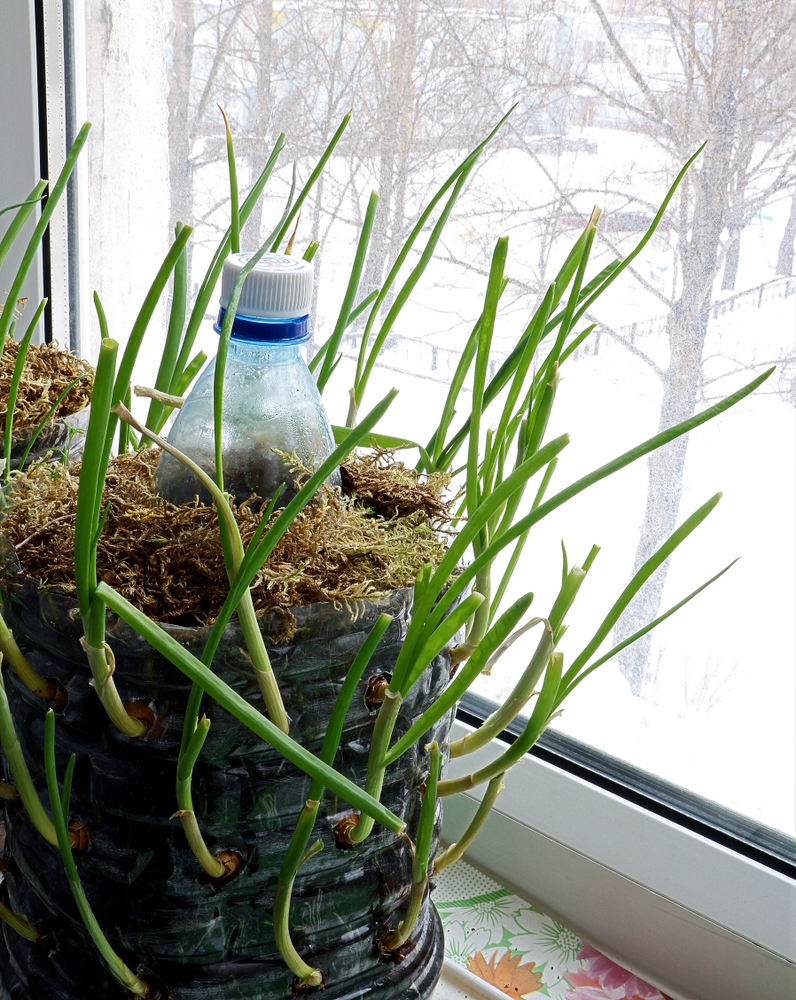

The bottle must get 6-8 hours of sunlight every day.
Step 6: Monitor the Moisture inn the Soil & Water Regularly
Ensure the water level in the bottle is maintained. The soil must at no point run dry.
Step 7: Harvest when Ready
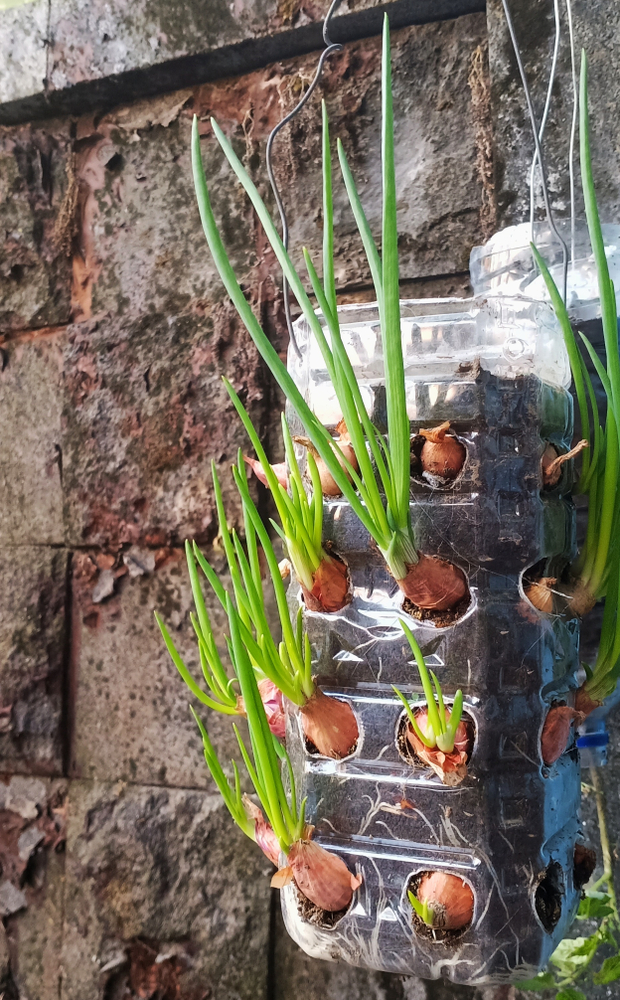

Once the greens start growing, harvest them by cutting the stem 3cm (1 inch) above the root, and within a week they will grow back again. You can now enjoy your weekly harvest of spring onions!
(Edited by Saiqua Sultan)
Like this story? Or have something to share?
Write to us: contact@thebetterindia.com
Connect with us on Facebook and Twitter.
If you found our stories insightful, informative, or even just enjoyable, we invite you to consider making a voluntary payment to support the work we do at The Better India. Your contribution helps us continue producing quality content that educates, inspires, and drives positive change.
Choose one of the payment options below for your contribution-
By paying for the stories you value, you directly contribute to sustaining our efforts focused on making a difference in the world. Together, let's ensure that impactful stories continue to be told and shared, enriching lives and communities alike.
Thank you for your support. Here are some frequently asked questions you might find helpful to know why you are contributing?