How To Grow Moringa in a Pot at Home: 8 Easy Steps from an Urban Gardener
Want to grow moringa at home? Here are some terrace gardening tips by Durgadevi Panneerselvam, who grows all her vegetables and fruits in her flourishing 'happy place'.
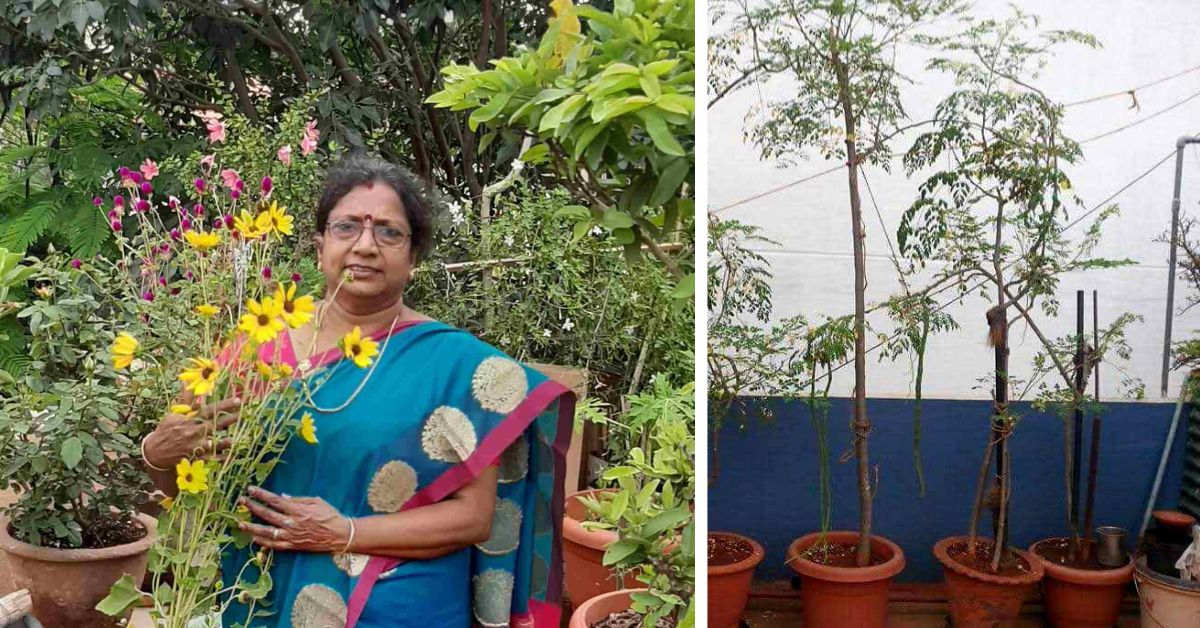
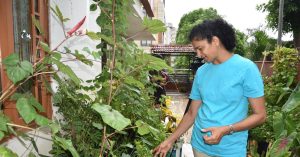
“The day’s harvest is the menu for the day,” says Durgadevi Panneerselvam a 65-year-old homemaker and a resident of Bengaluru.


While Durgadevi has always had green fingers and a passion for plants, it wasn’t until she attended a kitchen garden meet in Lalbagh in 2013, that she was inspired to start a garden of her own.
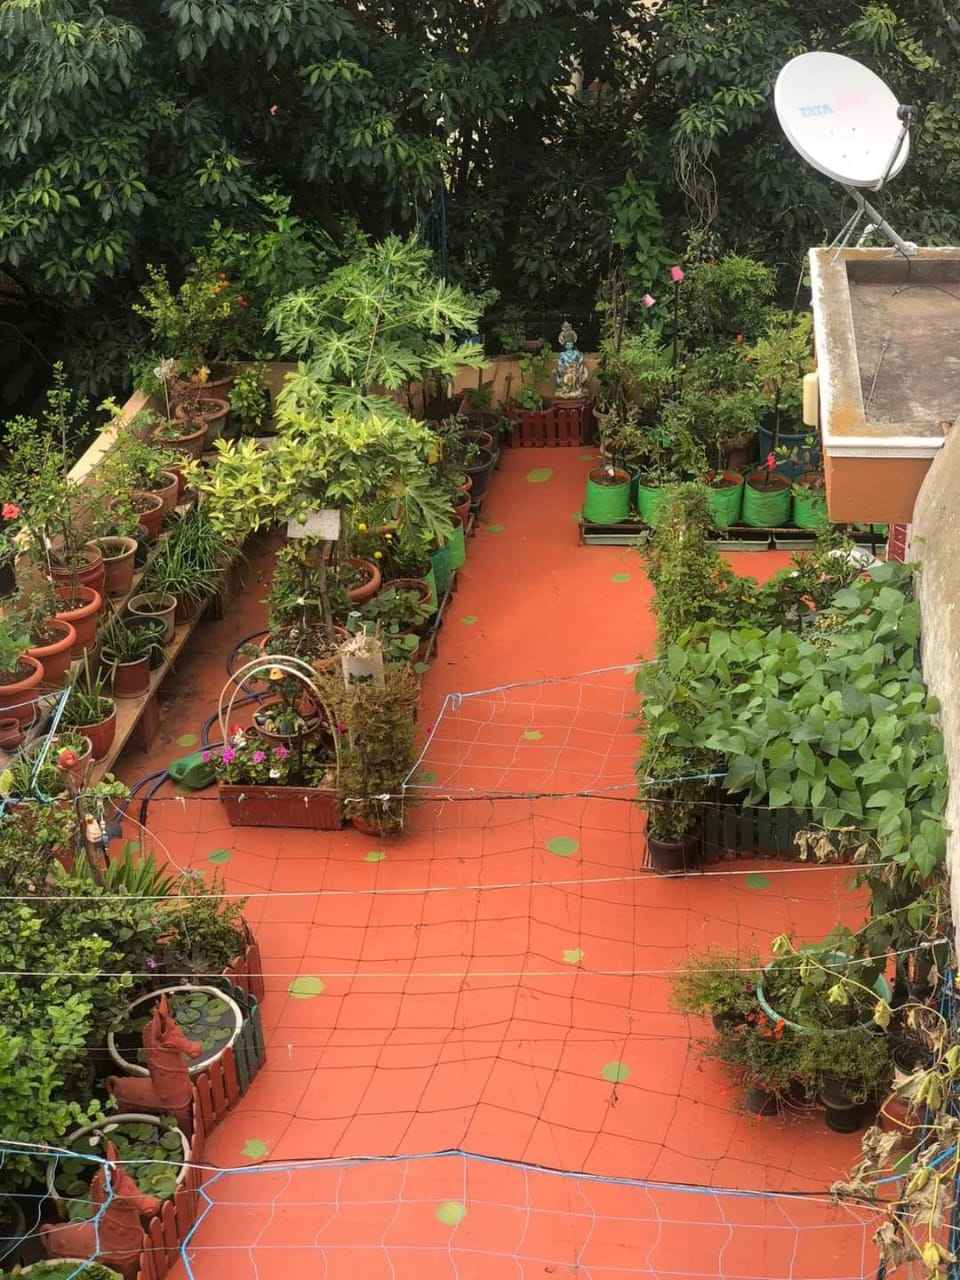
“It has been nine long wonderful years of my gardening journey,” she says, adding that her 900 sq ft terrace garden is a testament to how much she enjoys the activity.
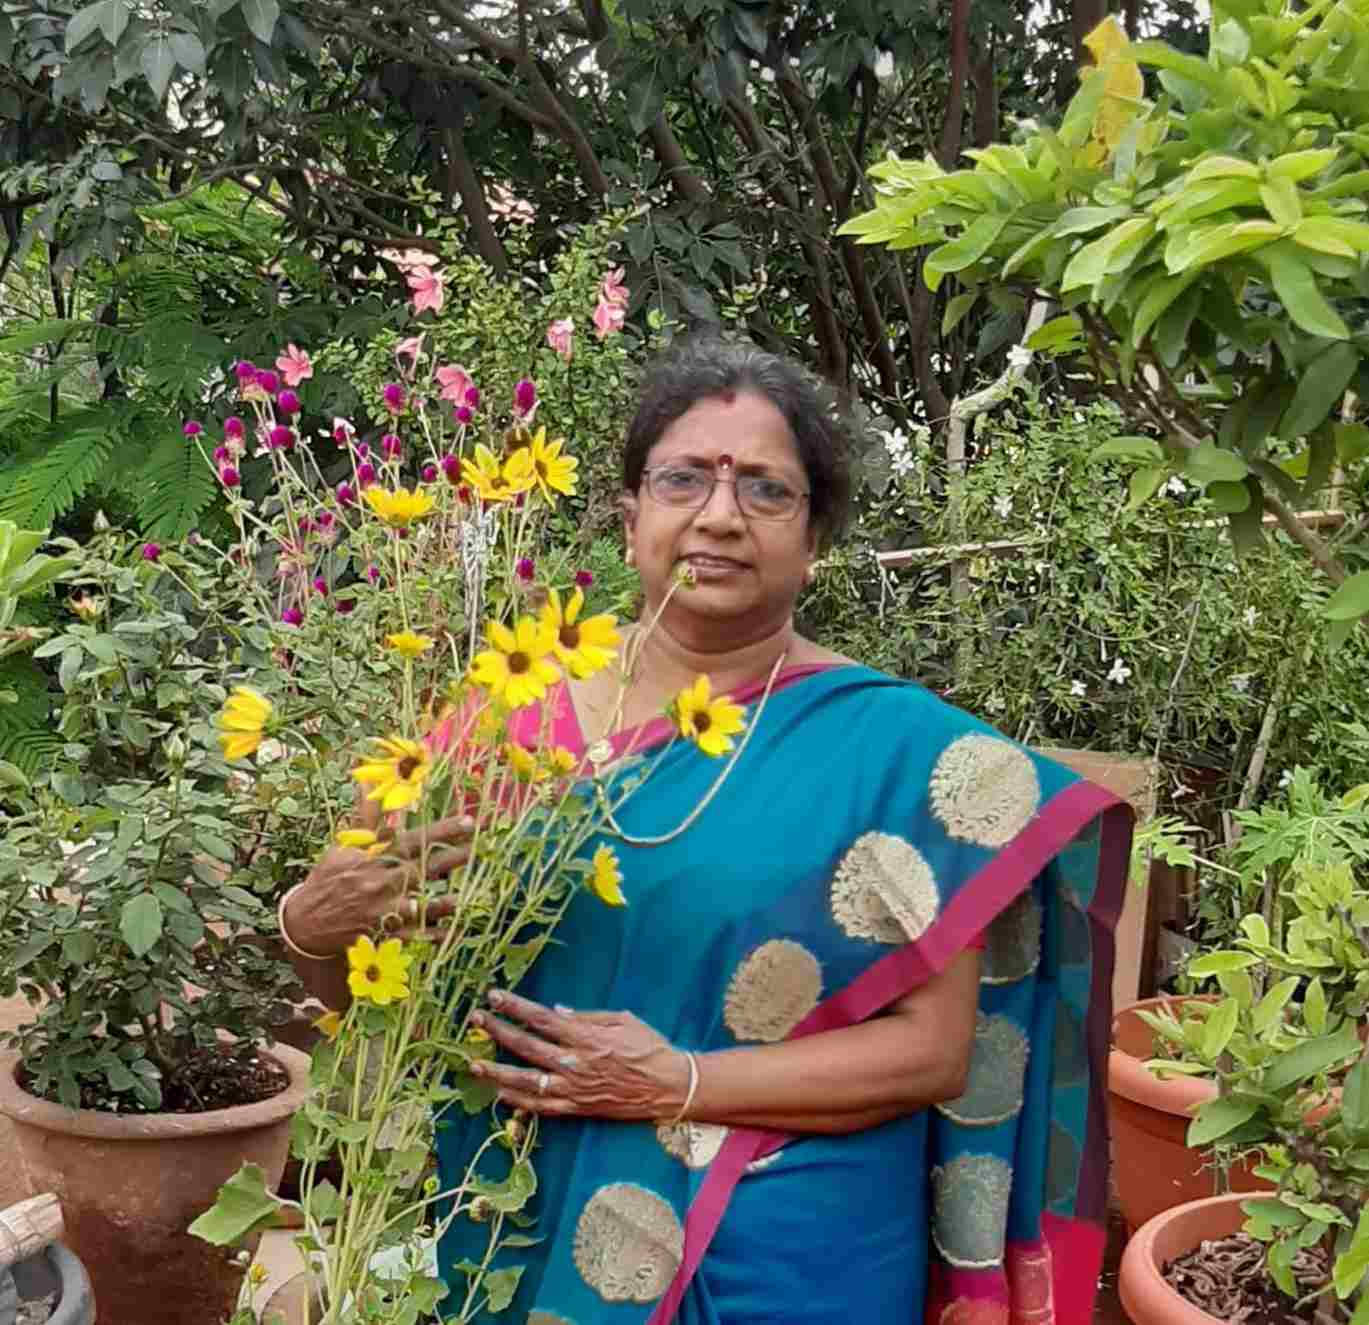
As Durgadevi gives a virtual tour around her garden, she explains that she procures vegetables for her curries and side dishes from here itself and the garden is abundant in tomatoes, brinjals, radish, beans, chillies greens and fruits such as guavas, mulberries, papaya, and spices like coriander, pudina, etc.
But among all these is her favourite moringa or the drumstick plant.
Why is moringa a versatile plant?
“There is nothing like growing and cooking your own fresh vegetables from your garden,” says Durgadevi saying that you will find a difference once you begin gardening.

As for why moringa is a favourite of hers, she says the plant has so much to offer.
“Drumstick or moringa has been used for centuries due to its medicinal properties and health benefits and contains a variety of proteins, vitamins and minerals.”
Apart from its health standpoint, she says the vegetable is versatile when it comes to cooking, as so many delicious curries and side dishes can be prepared with both drumsticks and leaves.
“It is an all-season plant,” she says.
Why is the moringa such an easy plant to grow?
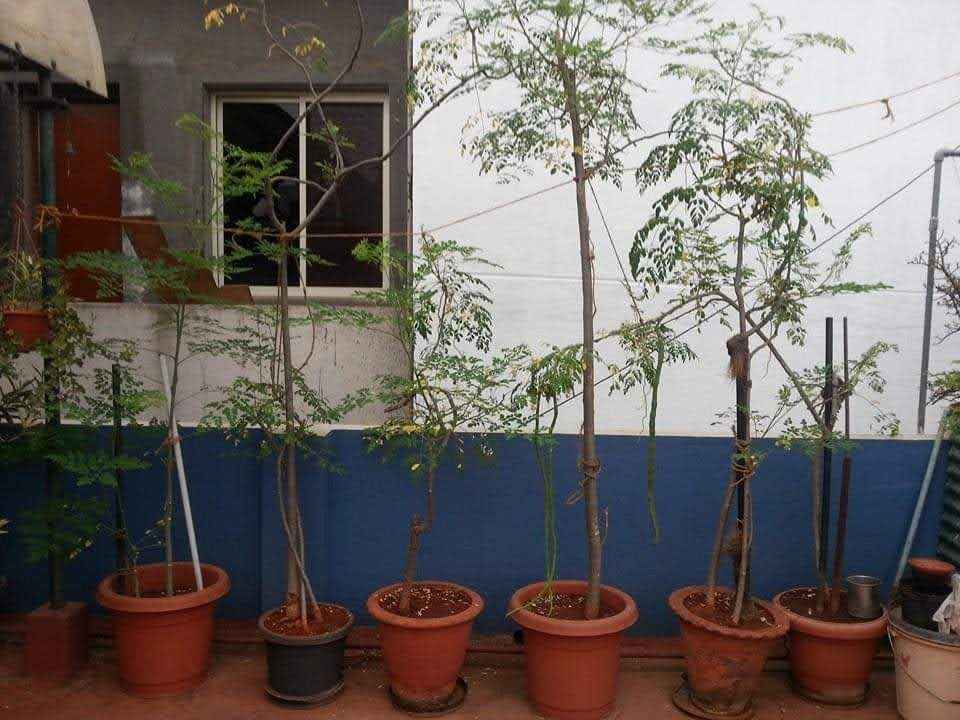
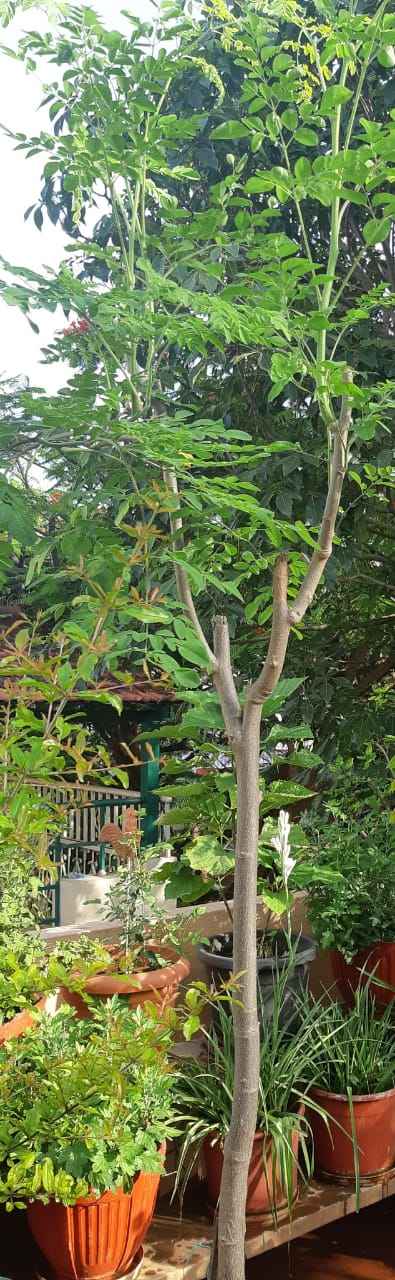
As Durgadevi explains, the moringa can be grown in a pot or a container, and she has five trees growing in different-sized pots.
“All are around six years old and I try to not let them grow over six to eight feet,” she says.
As for how to grow moringa in a pot at home, Durgadevi lists steps that have proved great.
Step 1: “I mix vermicompost with cow dung and neem powder or even use kitchen leachate,” says Durgadevi. She adds that for the leachate, she collects and dries used coffee grounds, tea powder, banana peels, egg shells, onion and garlic peels.
Step 2: The size of the container, she says should be around 18 inches by 18 inches. The bigger the container, the more the drumstick harvest.
Step 3: The pots or containers should be placed in an area where they receive sunlight for seven to eight hours.
Step 4: When the plant grows to two feet, the tips should be pinched off to get branches.
Step 5: A supply of compost and manure should be given every week as drumstick trees are heavy feeders, explains Durgadevi. Liquid fertilizers like kitchen leachate can be poured into the soil every 15 days.
She adds that she dries old soil and uses it again after adding nutrients. This she uses for the bottom layering.
Step 6: Every week neem oil can be sprayed on the plant to keep pests away, she says, adding that cinnamon turmeric mix spray, turmeric garlic mix spray, gowmutra, buttermilk and hing mix spray are also good.
Step 7: Durgadevi advises that after every harvest, prune the plant to about 4 feet.
Step 8: Ensure the plants grow to around 6 to 8 feet and once pruned, it will take three months for the next harvest.
If there is a fruiting problem, the gardener says that spraying one teaspoon of sugar dissolved in one litre of water helps as this increases pollination.
The homemaker enjoys spending her time not just gardening but also sharing her knowledge with society women and other gardening enthusiasts through Facebook and WhatsApp.
“I spend around two hours every morning and evening in my garden and also encourage the members of my Facebook group to share their gardening journeys so we can grow together and learn from each other,” she says.
“It is better to start late than never.”
Edited by Yoshita Rao
If you found our stories insightful, informative, or even just enjoyable, we invite you to consider making a voluntary payment to support the work we do at The Better India. Your contribution helps us continue producing quality content that educates, inspires, and drives positive change.
Choose one of the payment options below for your contribution-
By paying for the stories you value, you directly contribute to sustaining our efforts focused on making a difference in the world. Together, let's ensure that impactful stories continue to be told and shared, enriching lives and communities alike.
Thank you for your support. Here are some frequently asked questions you might find helpful to know why you are contributing?


This story made me
-
 97
97 -
 121
121 -
 89
89 -
 167
167