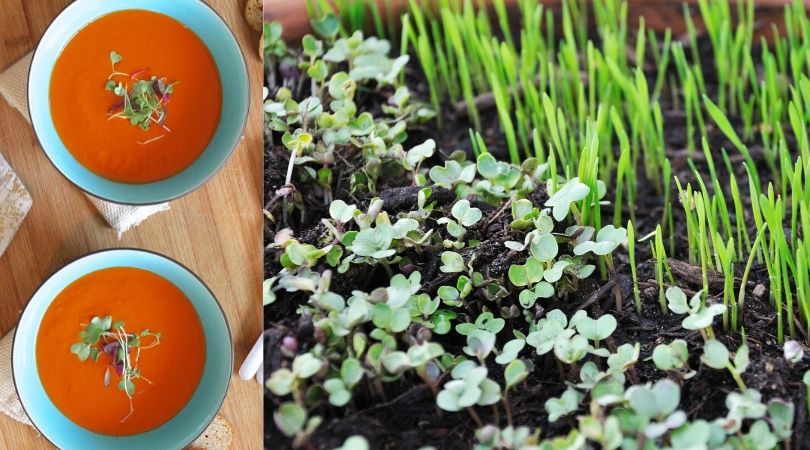
How to Grow Microgreens at Home: Easy Steps by an Expert For Best Results!
These superfoods can be grown quite quickly on your windowsill with what is available in your kitchen. Check out the steps! #UrbanGarden #EatHealthy
One of the upsides of this lockdown is that it has presented us with the gift of time. Why not give microgreens a chance and harvest within 10 days?
Research shows that microgreens contain nutrients like Vitamin C, Vitamin K, and antioxidants. What’s best is that they can be quickly grown on your windowsill with what is available in your kitchen. One harvests these leafy greens after the germination of the cotyledon leaves, i.e., the first one or two leaves.


The Better India (TBI) spoke to Manikandan Pattabiraman, Bengaluru-based gardening expert famously known as ‘Geek Gardener’ and the founder of Garden Guru and Hyderfarms.
Let him take you through the process.
Step 1: Select your Seeds
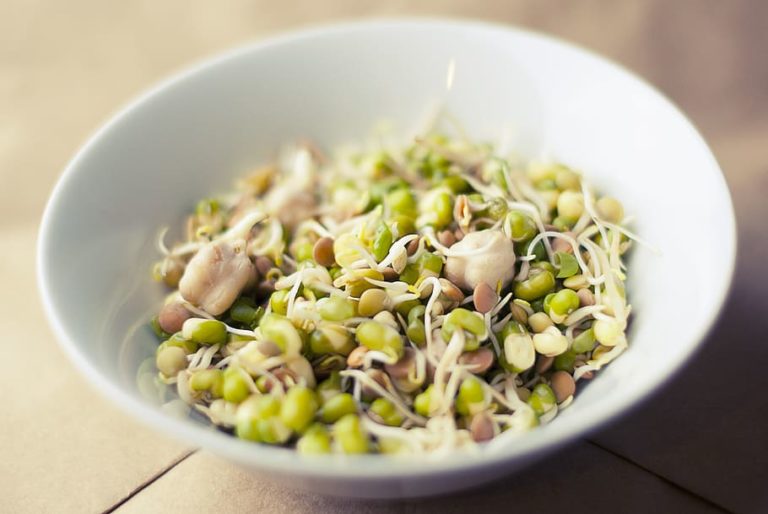
Forage through your spice cabinet for mustard, fenugreek, coriander, fennel, and basil seeds as these can be easily sown to grow microgreens. You can also use dried peas, mung beans, and sunflower seeds for the same purpose. It would be great if you have access to seeds of broccoli, radish, spinach, beetroot, and kale.
Step 2: Picking the Container
Ideally, microgreens are grown in flat trays that can hold up to two inches of soil. But, if you don’t have a tray like this, you can easily recycle what would have otherwise been trash.
Use shoe boxes or punnets of the previous purchases. Else, you can also use tetra pak cartons by cutting off one of the sides. One thing to keep in mind is that it is necessary to have some drainage holes in the container so that extra water can drain out, ensuring no instance of rotting.
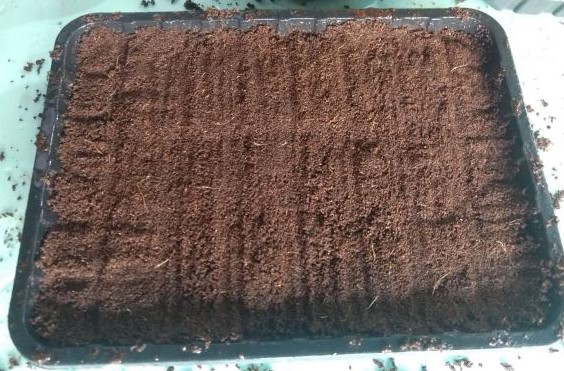
Step 3: The Growing Medium
The best medium for growing microgreens is the right mix of coco peat and fertile topsoil available within your housing compound. If you don’t have access to soil, you can take some tissue papers, stack them together and ensure that they are moist enough for the seeds to germinate.

Step 4: Arrange Everything
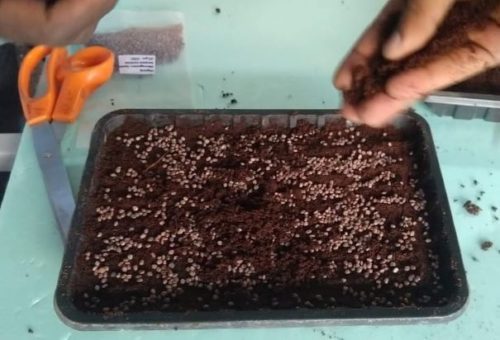
Spread the soil in the container about one and a half to two inches thick. Spread the seeds densely on the soil or the moist tissue paper. Cover the tray or container with newspaper (or in case of punnets, just close the lid) and keep it in a place where there isn’t direct sunlight. This is done so that the seeds germinate and do not lose moisture. Spray the container with water twice a day.
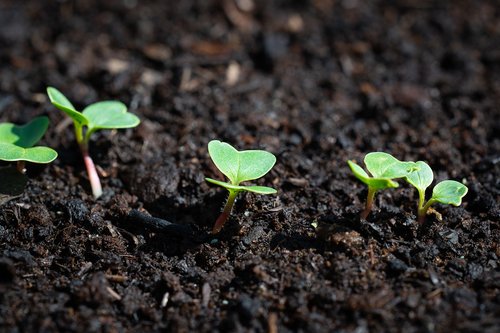
Step 5: Here Comes the Sun!

On the third or fourth day, once the leaves start to appear, you expose them to sunlight. But, this has to be indirect sunlight so that the tiny leaves don’t burn or dry up. A kitchen window sill is an ideal place where you can keep these and continue spraying the microgreens with water.
On the ninth or the tenth day, you can harvest the microgreens. Don’t wait too long to harvest the microgreens as delaying it can change their taste and make them bitter.
Things to keep in mind:
- Ensure to use seeds untreated with any chemical.
- Use good quality soil, free from chemicals, to ensure that the microgreens grow well.
- Don’t overwater your microgreens and ensure that there are drainage holes in your container.
“Microgreens contain nutrients that are available in a compact form. Anyone can grow microgreens at home with items easily available in your kitchen shelves. The best part is that you see the results in front of your eyes so quickly. If one is willing to pursue this commercially as a business, I would say it is a very good idea,”
So, now that you have an idea about how to grow microgreens, get started!
Share this “how-to” with your friends & family
Share on facebook
Facebook
Share on twitter
Twitter
Share on linkedin
LinkedIn
This story made me
-
 97
97 -
 121
121 -
 89
89 -
 167
167
Tell Us More

We bring stories straight from the heart of India, to inspire millions and create a wave of impact. Our positive movement is growing bigger everyday, and we would love for you to join it.
Please contribute whatever you can, every little penny helps our team in bringing you more stories that support dreams and spread hope.