How to Vermicompost? Here’s How a 2-Foot Bin Can Nourish Your Balcony Garden!
You’re an eco-conscious apartment dweller who wants to start vermicomposting, but you’re not blessed with a large backyard where you can toss your food waste into a huge pile of leaves. So what do you do? Here’s the answer! #LiveGreen #MyGarden
Putting all your waste, whether wet or dry, in one bin and hoping that someone will take care of it so that it does not pollute the environment is the kind of wishful thinking most of us are guilty of.
But taking into account that the recycling systems fail to keep up with the rising graph of our consumption is one of the several reasons why we need to be organised.
Especially, with our waste.
Hey, now that we have your attention for vermicomposting, we have a collection of rubber pots made of recycled tyres that can help you add to your garden! Have a look at them here.
Recycling is a complex process. Collection, segregation and finally, the recycling of waste is a long procedure for which the municipal corporations employ scores of people and buy expensive machinery.
Waste segregation
Municipal Corporations deal with lakhs of households and not all of those are eco-conscious. Even with strict rules in place, not everyone is diligent with the segregation of wet waste from dry and though it is the first step, people tend to halt here. Our responsibility does not end at giving out separate bags for our waste.
In fact, it begins when we generate waste.
The wet waste generated in our kitchens is actually a treasure-trove waiting to be utilised. Instead of the stinking trash that people normally perceive it to be, wet waste is an organic fertiliser that boosts the growth of your house plants. All you have to do is compost it using either microbes or earthworms for its decomposition.
To understand how you can compost waste, click on this link.
To understand vermicomposting, read further.
In the concrete urban jungles of the country, one may believe that vermicompost is only for those who have the luxury of a garden where a pit can be constructed. However, we believe that there is no need to have big spaces or spending an extravagant amount on constructing concrete pits. Vermicomposting is for everyone who generates wet waste.
Here we give you a guide to how you can make a vermicompost pit in as small as a 2ft X 2ft X 2ft bin!
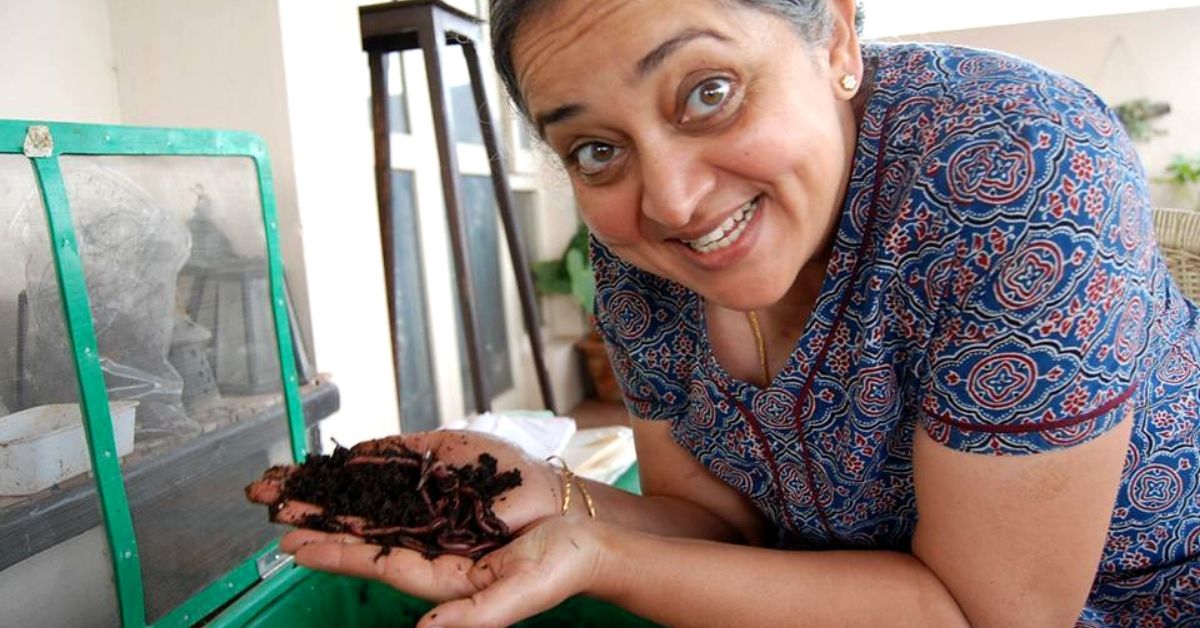
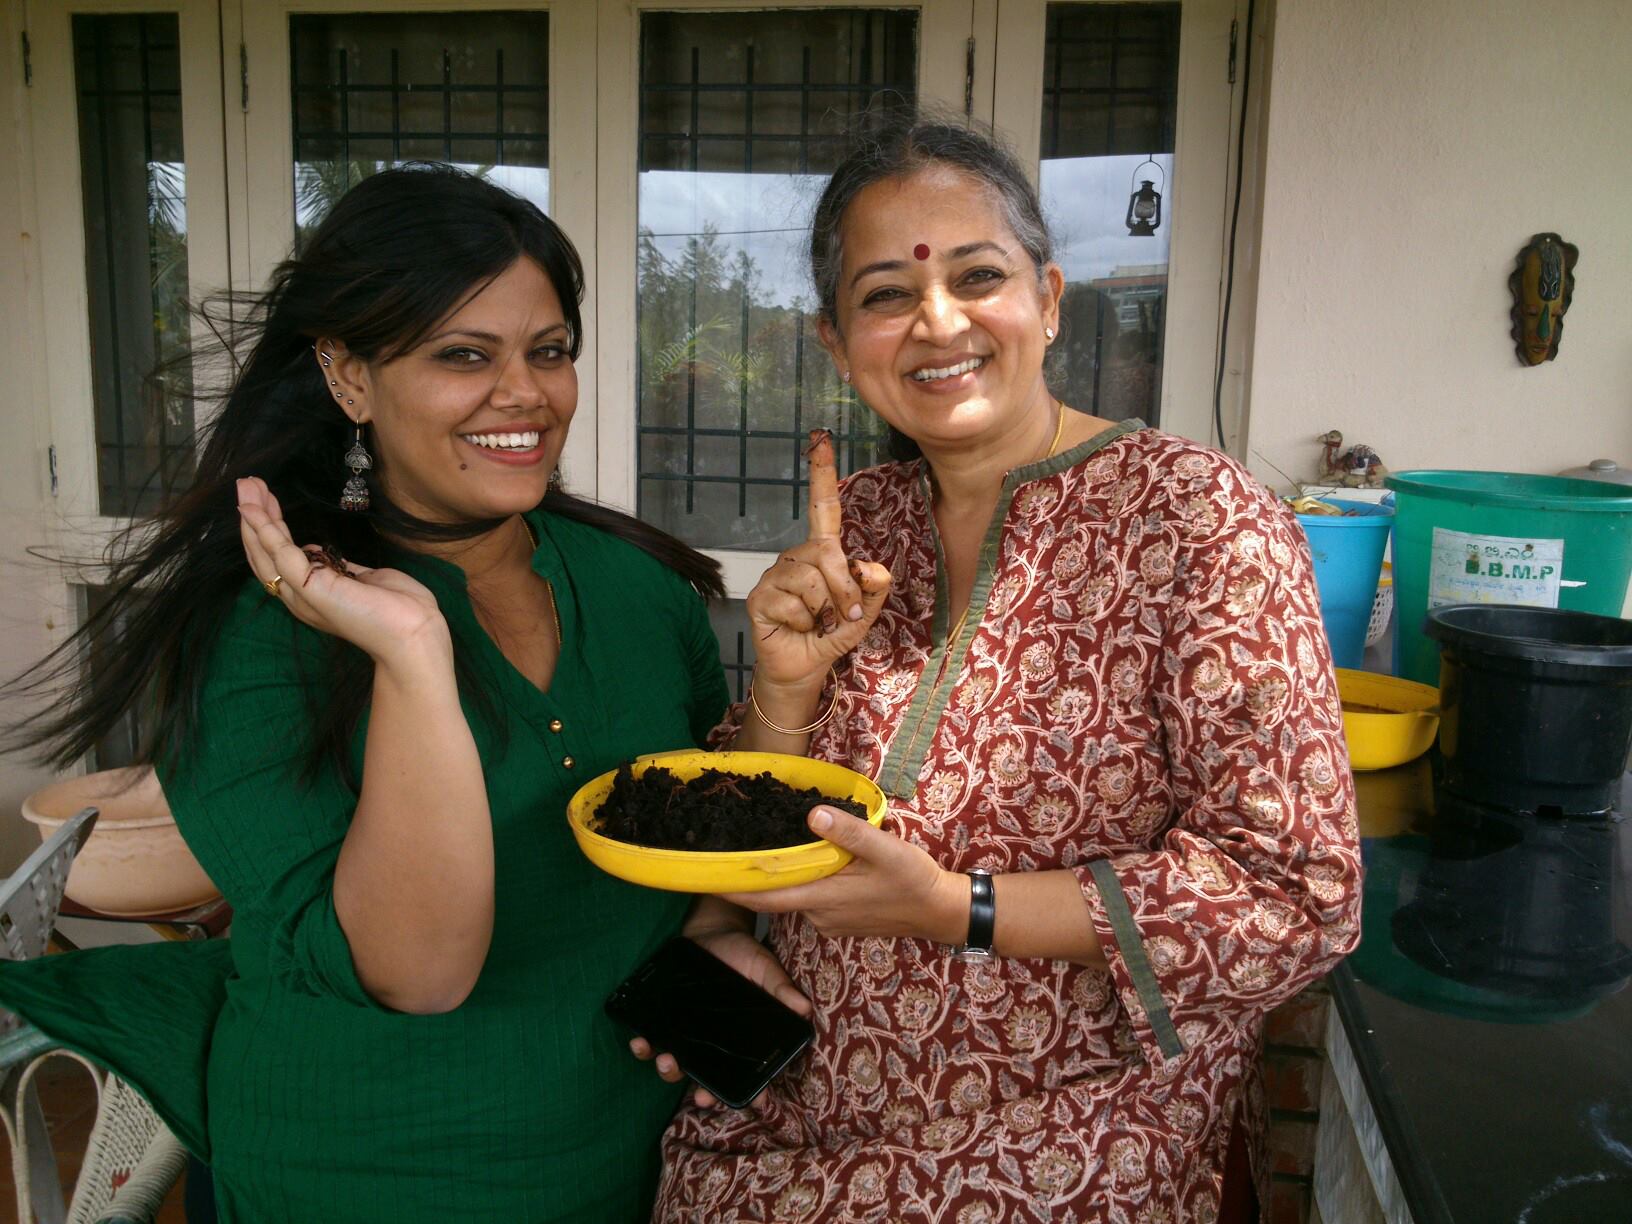
To understand the model well, The Better India got in touch with Vani Murthy, an environmentalist and home-maker who has been vermicomposting for nearly nine years now.
“Vermicompost is most beneficial to those who grow their own food or have a few plants in their balconies or gardens. It is an excellent fertiliser for plants and can help your garden thrive. But even if you don’t have any plants in your home, this method of composting is still great to adopt because it discards your waste in a responsible way,” she says.
Let’s find out how you can make a vermicompost bin in your apartment:
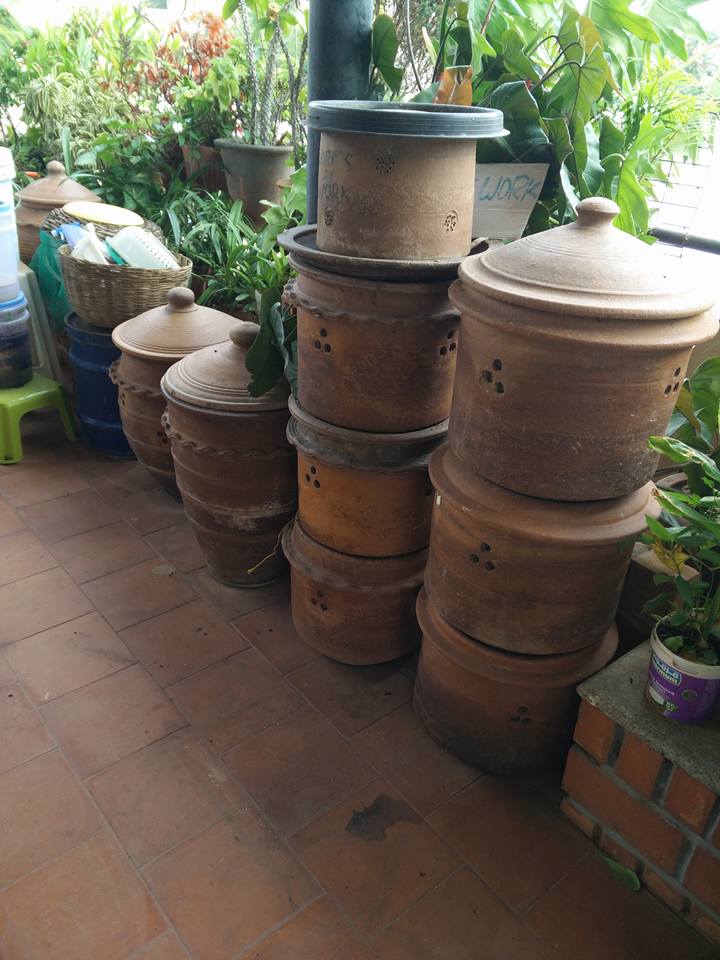
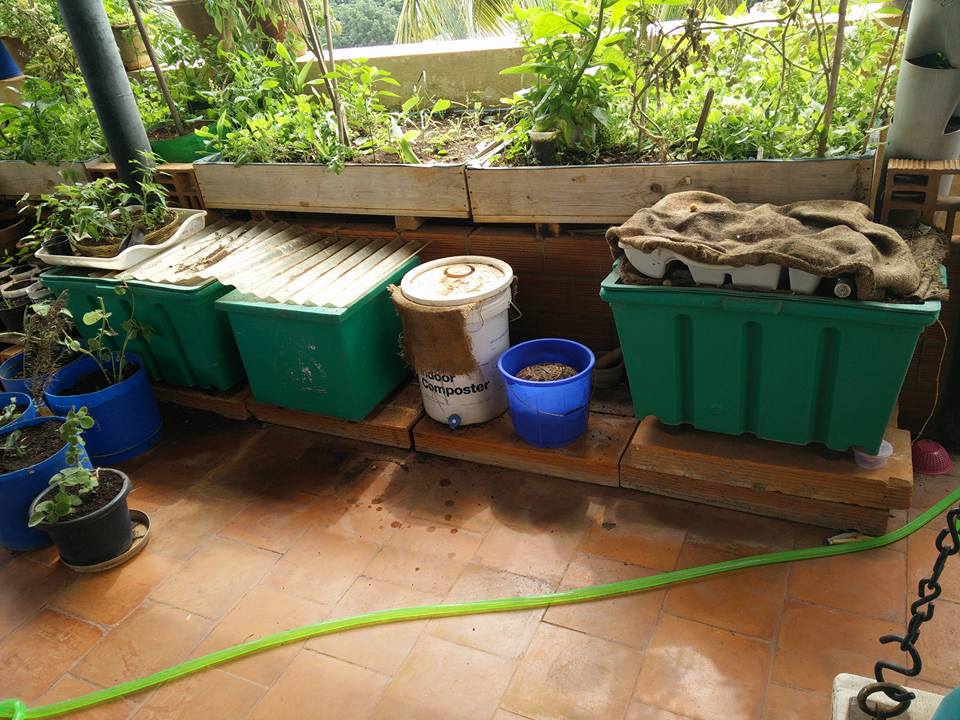
- Murthy says that the first step is to get a shallow container. A plastic box or an earthen pot which is two feet in length, breadth and height will work perfectly, (pssst…..this is your chance to recycle those plastic boxes that are hoarding in your wardrobe). These boxes can be longer or wider but ensure that they aren’t deeper than two feet. The earthworms that you will be introducing in them are species that live on shallow grounds.
- If the plastic bins have lids, perfect! If not, arrange for tight-fitting lids with holes in them to allow the earthworms to breathe. Some people also prefer keeping a wet jute cover on top but there are concerns about this method which will be addressed in point 8.
- Once you have the container prepared, it’s time to make a bedding. Divide the box into two parts and keep some gap at the bottom when you do so. On one side, keep a mixture of moist cardboard, mature (not fresh) cow dung and coconut coir. The coconut coir needs to be soaked in water first and the extra water squeezed out. Dry leaves soaked in cow dung for a couple of weeks also work well. Keep this layer of bedding on one side of your container.
- “Make sure that the container is placed in a dark, dry corner. Earthworms are repelled by sunlight and since they breathe through their skin, it’s crucial to maintain a moist environment for them. Too soaked up and the worms will drown, too dry and they will suffocate,” the 58-year-old explains adding that the earthworms will not come out of the box unless you fail to provide a conducive environment for them to live in. Till they have food, darkness and moisture, they are happy to live in the container.
- About 1/2 kg of worms (which includes a large portion of fertiliser that they have already produced) is a good start for the 2 feet container.
- Now that the worms are in place you can start putting apple core, potato peels, tomato remains etc. in. Make sure you don’t dump in all the kitchen waste. Onions, garlic and non-vegetarian remains are a no-no. Eggshells can be excellent food but only when crushed finely. We need to understand that we are basically making the earthworm eat our waste and digest it and make castings that fertilise the soil. So we can’t give them food that they won’t eat.
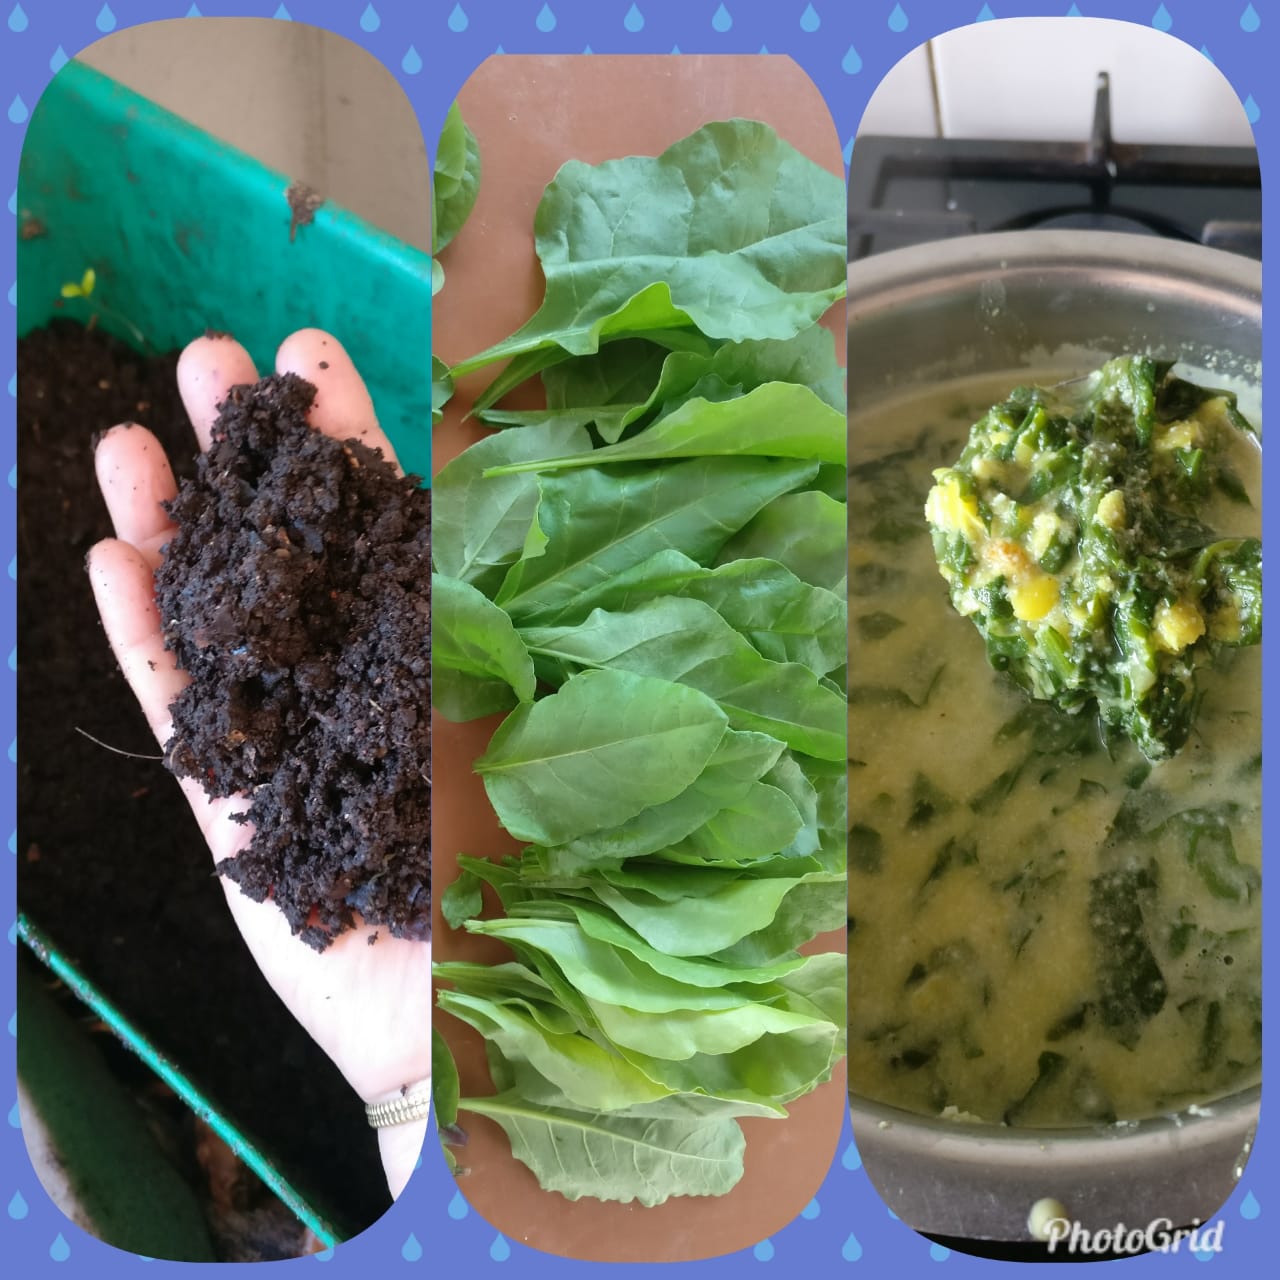
- Explaining the frequency of adding the food waste, Murthy says, “About once or twice a week is a good idea. Avoid acidic food and you are usually good to go. After 2-3 weeks of this, you will realise that the soil is drier and filled with the worm castings. This is your cue to make bedding on the other side of the container and start putting food on that side. The gap at the bottom will allow the worms to migrate to this moist side and you can easily take out the fertiliser from the first side. Repeat this cycle.”
- Two major creatures you need to look out for are ants and rats. But it’s easy to avoid them both. If the lid has a tight lid on, rats won’t come anywhere close (hence the inhibitions for jute bag tops.) A moat will keep the ants away.
- Another reservation that people usually have about composting is the smell but Murthy is quick to answer that a stink is only indicative of a wet or water-logged container. If you rectify this error, it will stop smelling. A properly maintained vermicompost pit does not stink.
- And as for the expenses, it shouldn’t cost you more than Rs 3,000 to buy or get a plastic container made. To buy the earthworms from your local horticulture college/organisation you will not have to shell out more than Rs 1,000. If you recycle a used plastic bin or ask a friend to give you a few earthworms to kickstart the project, you automatically bring the cost down.
- As your vermicomposting pits start flourishing, the earthworms will multiply. In a few months, you may have to add to the number of containers or give some of the worms to those people excited to start their own vermicompost kits.
Making fertiliser from your kitchen waste is an excellent idea irrespective of how big your garden is. Even if it does not have many plants, you can just put the fertiliser in a park or give it away to your neighbours and friends for free. If your aim is to utilise wet waste to fertilise your garden, you have completed the circle.
If not, you still have other options to explore.
You may also like: Mumbai Doctor Spends Rs 1.6 Lakh from Own Pocket to Grow Forest of 1500+ Trees!
(Edited by Saiqua Sultan)
Feature image source: Vani Murthy/ Facebook.
Like this story? Or have something to share? Write to us: [email protected], or connect with us on Facebook and Twitter.
If you found our stories insightful, informative, or even just enjoyable, we invite you to consider making a voluntary payment to support the work we do at The Better India. Your contribution helps us continue producing quality content that educates, inspires, and drives positive change.
Choose one of the payment options below for your contribution-
By paying for the stories you value, you directly contribute to sustaining our efforts focused on making a difference in the world. Together, let’s ensure that impactful stories continue to be told and shared, enriching lives and communities alike.
Thank you for your support. Here are some frequently asked questions you might find helpful to know why you are contributing?


This story made me
-
 97
97 -
 121
121 -
 89
89 -
 167
167